Debug with Laravel Telescope
Back to home
On this page
Laravel Telescope complements your local Laravel development environment. With Telescope, get insight into the requests coming into your app, exceptions, log entries, database queries, queued jobs, mail, notifications, cache operations, scheduled tasks, variable dumps, and more.
To set up Laravel Telescope on your non-production environments, follow these steps.
1. Create the APP_DEBUG variable 
To add the APP_DEBUG & TELESCOPE_ENABLED variables on your project, run the following commands:
upsun variable:create --level environment --name env:APP_DEBUG --value false
upsun variable:create --level environment --name env:TELESCOPE_ENABLED --value false
Note that the default values for your main environment are set to false.
To override them on other non-production environments, run the following commands:
upsun variable:update -e ENVIRONMENT --value true env:APP_DEBUG
upsun variable:update -e ENVIRONMENT --value true env:TELESCOPE_ENABLED
2. Add Telescope to your project 
-
Run the following Composer command:
Terminalcomposer require laravel/telescope && php artisan telescope:install -
Add the
installcommand to yourbuildhook in your app configuration, so it’s run on every deploy..upsun/config.yamlapplications: myapp: [...] hooks: build: | set -eux composer --no-ansi --no-interaction install --no-progress --prefer-dist --optimize-autoloader --no-dev php artisan telescope:install
For more options and information on how to manage authentication for the dashboard, see the Laravel Telecope documentation.
3. Deploy the new release 
To enable Telescope, push your changes to Upsun:
git add .
git commit -m "Enable Laravel Horizon"
upsun push
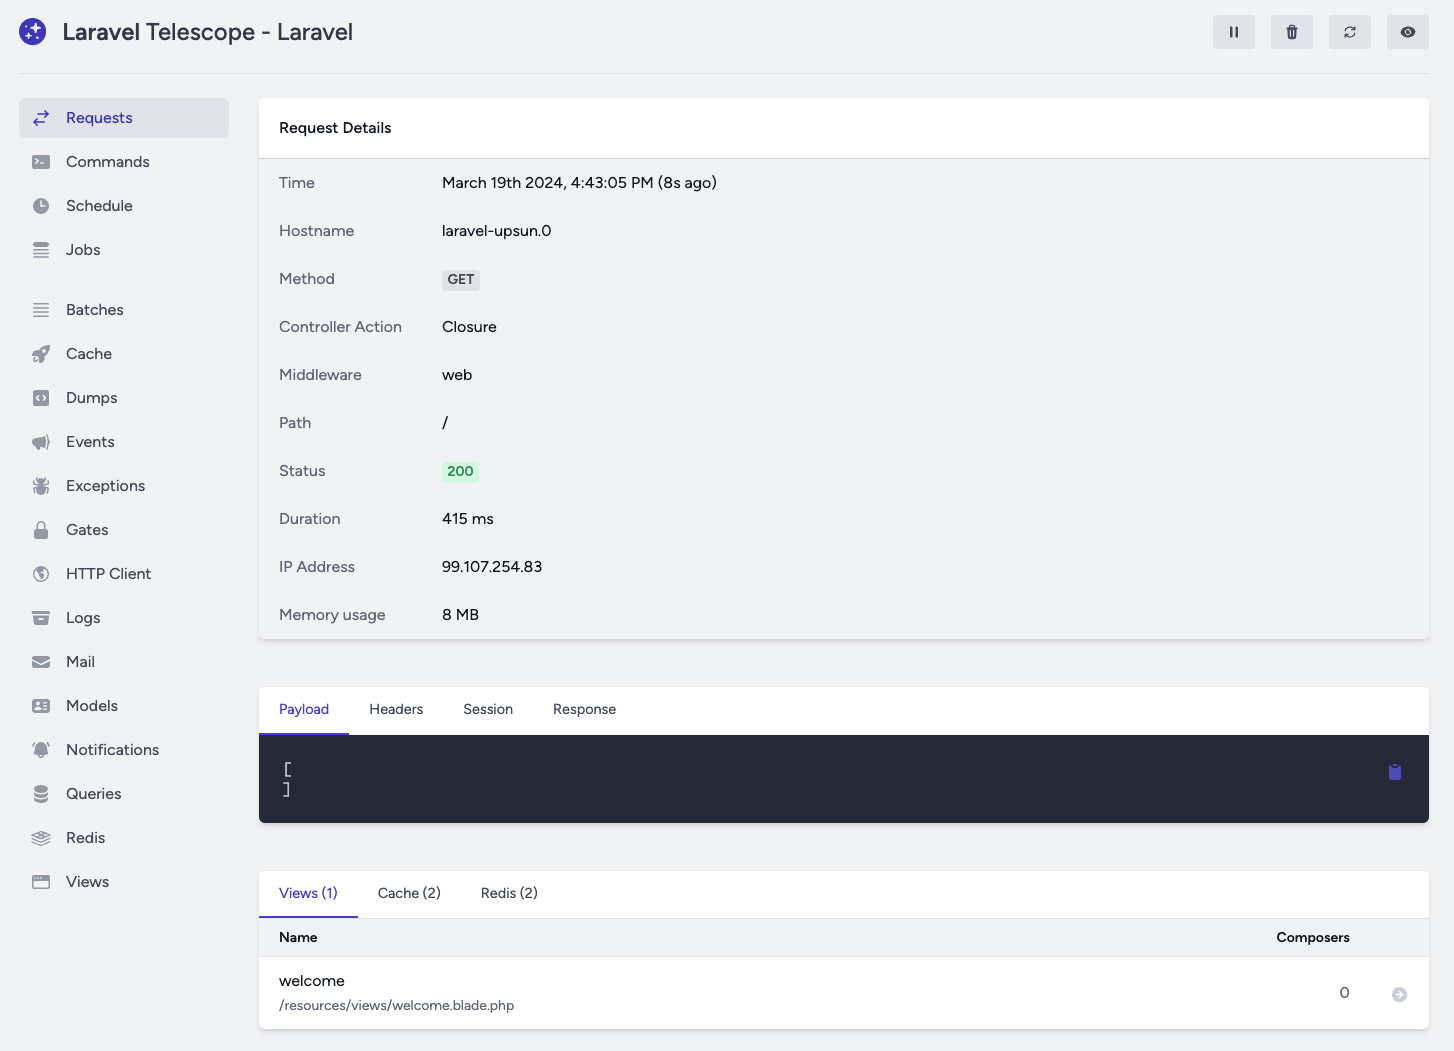
You can now access the /telescope endpoint of your app.

Note
Telescope uses a gate defined in TelescopeServiceProvider.php to authorize access to the dashboard.
Check that the logic here matches your needs.
